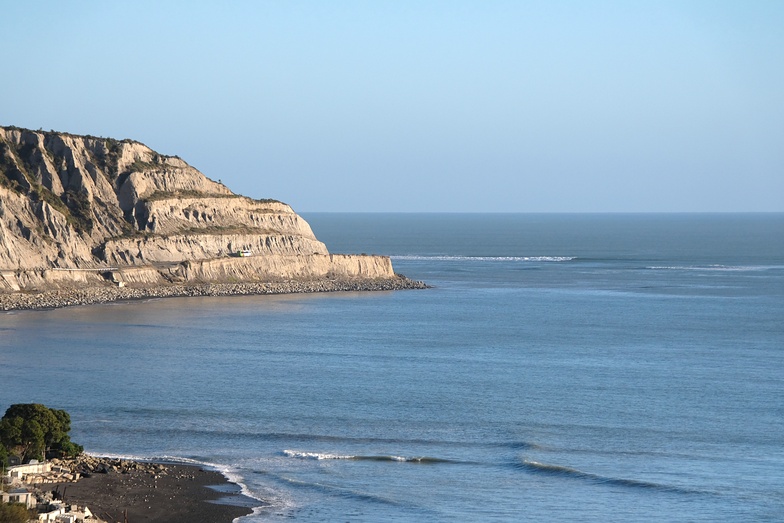


Surf Forecasts:

How big are the waves at Whatarangi Point and Bombora today (26 Oct):
- Morning surf: Morning surf (26 Oct, local time) - 1.5ft (0.5m), 16s period with SSW swell.
- Afternoon surf: Afternoon surf (26 Oct, local time) - 1.5ft (0.5m), 14s period with SSW swell.
- Evening surf: Evening surf (26 Oct, local time) - 1.5ft (0.4m), 13s period with SSW swell.
The current surf forecast for Whatarangi Point and Bombora at 9PM is: 0.4m 13s primary swell from a South-southwest direction and 0.1m 12s secondary swell from a Southeast direction (forecast issued at 12:00pm October 26). An open ocean swell of 2.5m 7s is not directed at the surf break. The wind direction is predicted to be cross-shore.
| Time (NZDT) & Date | Wave Height | Wave Period |
|---|---|---|
| Morning (26 Oct) | 1.5ft (0.5m) | 16s |
| Afternoon (26 Oct) | 1.5ft (0.5m) | 14s |
| Evening (26 Oct) | 1.5ft (0.4m) | 13s |
Table - waves today at Whatarangi Point and Bombora. (Swell directed towards the surf break)
Short Range ForecastModerate rain (total 16mm), heaviest on Tue morning. Very mild (max 17°C on Mon morning, min 7°C on Tue night). Winds decreasing (strong winds from the NW on Mon morning, calm by Tue afternoon). | |||||||||||||||||||||
Mon 26 | Tuesday 27 | Wednesday 28 | |||||||||||||||||||
10 AM | 1 PM | 4 PM | 7 PM | 10 PM | 1 AM | 4 AM | 7 AM | 10 AM | 1 PM | 4 PM | 7 PM | 10 PM | 1 AM | 4 AM | 7 AM | 10 AM | 1 PM | 4 PM | 7 PM | 10 PM | |
Swell Height Map |  |  |  | 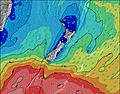 | 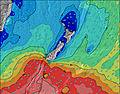 | 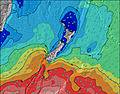 | 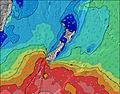 | 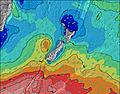 | |||||||||||||
Wave Height (m) Direction Period (s) | SSW 16 | SSW 15 | SSW 14 | SSW 13 | SSW 13 | SSW 12 | SSW 12 | SSW 11 | SSW 4 | SSW 6 | SSW 7 | SSW 8 | SSW 8 | SSW 9 | SSW 10 | SSW 10 | SSW 10 | NW 6 | SSW 9 | SSW 9 | SSW 10 |
Wave Graph  | |||||||||||||||||||||
 kJ kJ | 196 | 172 | 115 | 101 | 65 | 49 | 46 | 24 | 32 | 212 | 387 | 404 | 432 | 442 | 567 | 463 | 334 | 225 | 153 | 126 | 129 |
Wind (km/h) | |||||||||||||||||||||
Wind State on-shore cross-onshore cross-shore cross-offshore off-shore glassy | cross-off | cross | cross | cross | cross | cross | cross-off | cross | cross-on | cross-on | cross-on | glassy | off | cross-off | off | cross-off | cross | cross | cross | cross-off | cross |
High Tide | 5:35PM1.21m | 6:01AM1.29m | 6:29PM1.22m | 6:56AM1.35m | 7:25PM1.24m | ||||||||||||||||
Low Tide | 11:25AM0.13m | 11:47PM0.13m | 12:23PM0.10m | 00:41AM0.10m | 1:21PM0.07m | ||||||||||||||||
 | | |  |  |  | |  |  | | | | | | | | | | | |  | |
 | 6:15 | — | — | — | — | — | 6:13 | — | — | — | — | — | — | — | 6:11 | — | — | — | — | — | — |
 | — | — | — | 7:52 | — | — | — | — | — | — | — | 7:52 | — | — | — | — | — | — | — | 7:53 | — |
mm | — | — | — | — | — | — | — | 1 | 14 | 1 | — | — | — | — | — | — | — | — | — | — | — |
Temp °C | 16 | 17 | 17 | 15 | 15 | 15 | 15 | 15 | 9 | 9 | 9 | 11 | 7 | 9 | 7 | 10 | 15 | 16 | 15 | 13 | 12 |
Feels °C | 9 | 9 | 9 | 8 | 8 | 8 | 9 | 8 | 5 | 6 | 6 | 9 | 5 | 7 | 4 | 5 | 8 | 8 | 7 | 6 | 5 |
Swell 1 Height (m) Direction Period (s) | SSW 16 | SSW 15 | SSW 14 | SSW 13 | SSW 13 | SSW 12 | SSW 12 | SSW 11 | WNW 6 | NW 9 | SSW 7 | SSW 8 | SSW 8 | SSW 9 | SSW 10 | SSW 10 | SSW 10 | SSW 9 | SSW 9 | SSW 9 | SSW 10 |
| kJ | 196 | 172 | 115 | 101 | 65 | 49 | 46 | 24 | 103 | 27 | 387 | 404 | 432 | 442 | 567 | 463 | 334 | 225 | 153 | 126 | 129 |
Swell 2 Height (m) Direction Period (s) | E 13 | E 13 | SE 12 | SE 12 | SE 12 | SE 12 | SE 11 | SE 11 | — | S 14 | NW 9 | NW 9 | NW 9 | NNW 9 | NNW 8 | NE 8 | — | — | E 15 | E 14 | SE 14 |
| kJ | 3 | 3 | 6 | 6 | 6 | 5 | 5 | 5 | — | 4 | 3 | 3 | 3 | 7 | 7 | 2 | — | — | 4 | 4 | 8 |
Swell 3 Height (m) Direction Period (s) | SE 13 | SE 13 | E 12 | E 11 | E 11 | E 11 | E 11 | — | E 11 | — | E 11 | ENE 8 | ENE 8 | ENE 8 | NE 8 | E 15 | E 13 | E 13 | — | — | — |
| kJ | 7 | 7 | 3 | 3 | 2 | 2 | 2 | — | 2 | — | 2 | 6 | 6 | 6 | 2 | 4 | 3 | 3 | — | — | — |
Wind waves Height (m) Direction Period (s) | NW 6 | NW 7 | NW 7 | NW 7 | NW 7 | NW 7 | NW 7 | NW 7 | SSW 4 | SSW 6 | — | — | — | — | N 3 | NW 4 | NW 5 | NW 6 | NW 6 | NW 7 | NW 6 |
| kJ | 433 | 637 | 639 | 731 | 714 | 716 | 690 | 731 | 32 | 212 | — | — | — | — | 2 | 21 | 117 | 209 | 341 | 543 | 398 |
Nearest Offshore or Glassy | |||||||||||||||||||||
Distance (km) | 80 | 80 | 80 | 140 | 149 | 153 | 158 | 302 | 152 | 72 | 51 | 0 | 0 | 0 | 0 | 18 | 27 | 95 | 130 | 130 | 95 |
Best forecast wave conditions in The Wairarapa | |||||||||||||||||||||
Best forecast wave conditions in New Zealand | |||||||||||||||||||||
Header Global | |||||||||||||||||||||
- Map Icons:
 Break
Break Live Wave Height (m)
 Live Wind Speed (km/h)
 Surf Rating (10 Max)
 Ocean Swells (m)
- Wind Speed (km/h)


FREE! Surf-Forecast.com widget for your website
The surf report / weather widget below is available to embed on third party websites free of charge and provides a summary of our Whatarangi Point and Bombora surf forecast. Simply grab the html code snippet that we provide and paste it into your own site. You can choose your preferred language and metric/imperial units for the surf forecast feed to suit users of your site. Click here to get the code.

 Nearest